I had recently visited a garden centre where I had managed to source some aged off cuts of old fencing that the garden centre had thrown away. I also goggled how to make inexpensive stain for the wood using wire wool and vinegar.Below is a tutorial of how I created my wooden board.
Materials:
For Board:
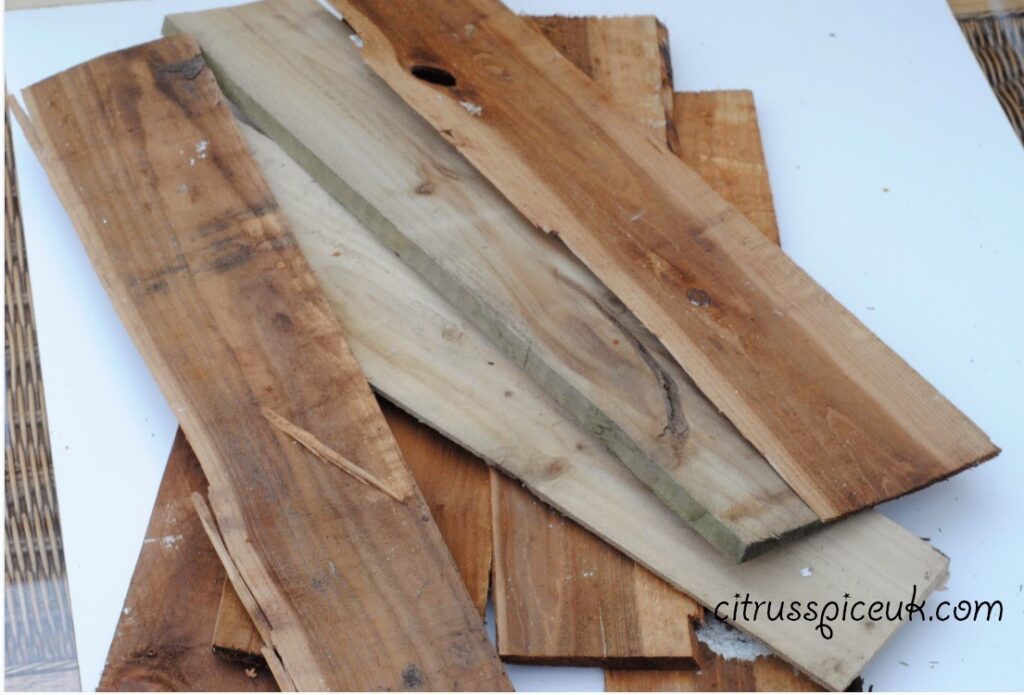
7 strips of wood approximately 18 x 6 inches.
Few nails 1.5 cm long(depends on thickness of wood)
Hammer
Paint brush
Bin liner
Empty Jar
Hack saw
Sandpaper
Old rag
Rubber gloves
For Stain:
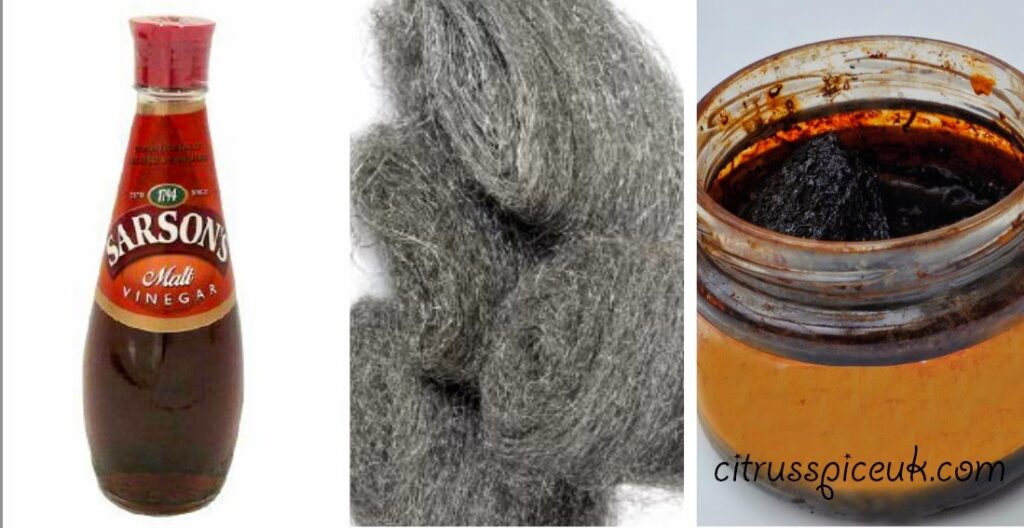
Wire wool
Vinegar
Method:
1. In a glass jar add the wire wool and top it up fully with vinegar, place the lid and put the jar in the garage for 2 weeks.After two weeks open the jar in a well ventilated room ( the smell is very pungent) and you will notice that the wire wool has rusted and the vinegar has turned brown in to a stain.Strain the mixture into a clean jar and discard the rusted wire wool.
2. Cut the wood so that you have 7 pieces roughly the same length.They don’t have to be cut too perfect.
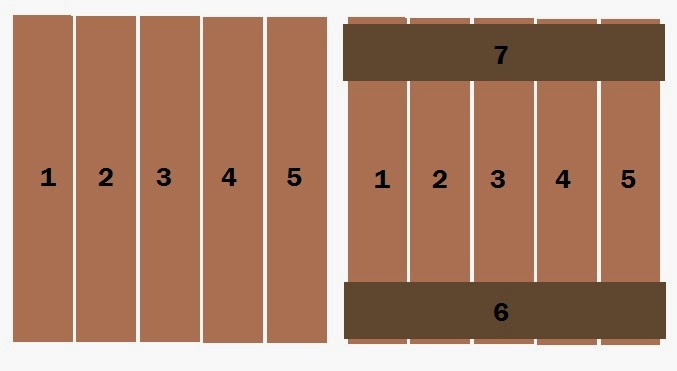
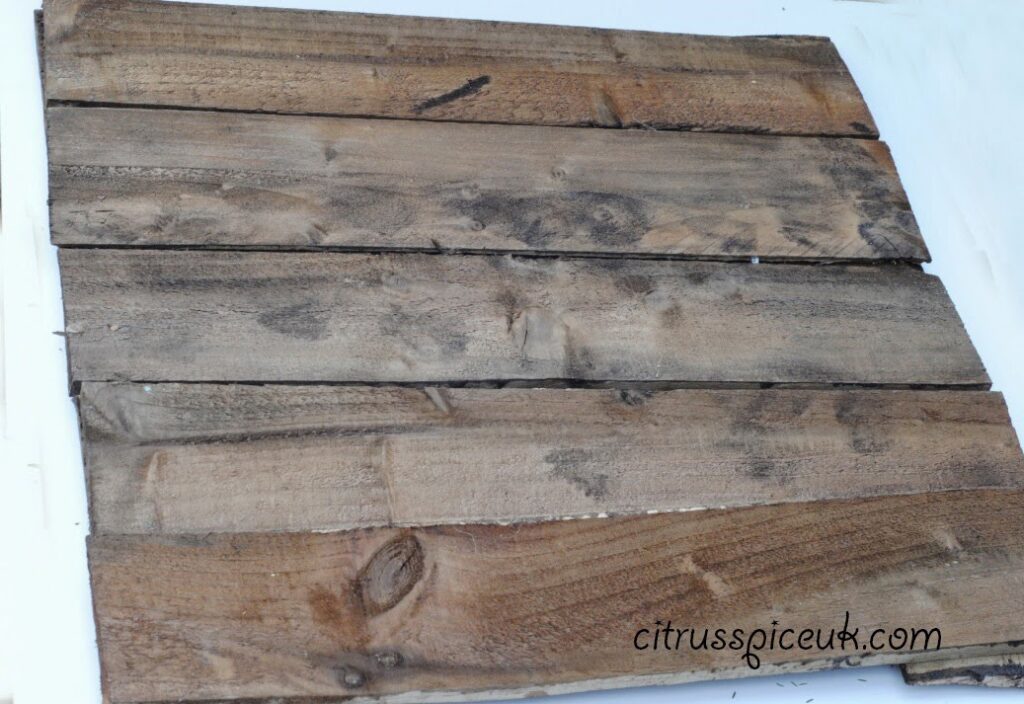
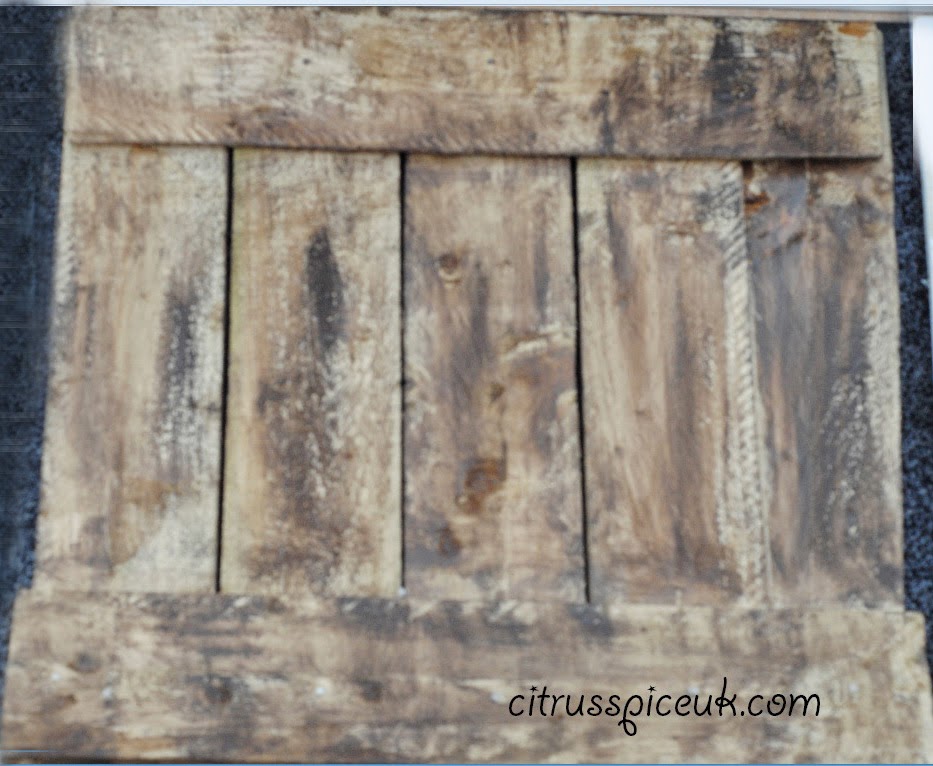
3.Place 5 pieces of the cut wood side by side as shown in diagram 1below and place the remaining two pieces horizontally as shown on diagram 2.
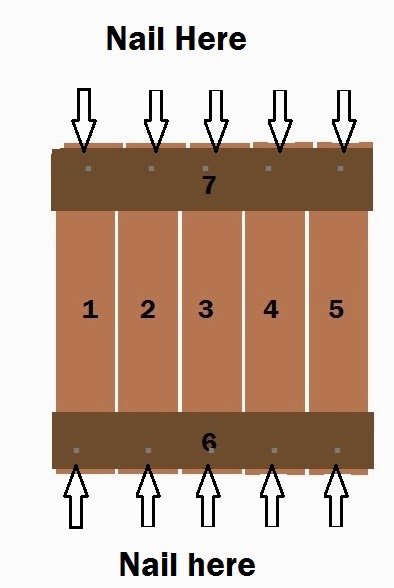
5. Using the sand paper sand away any splinters and wipe the wood with a damp cloth.
6. Place the bin liner on the floor and place the wooden board on it, using the brush paint the stain on both sides of the wooden board.To achieve a darker colour apply a second coat of stain after first coat is dry.I applied a single coat to one side of my board and a double coating on the other side so that I had two different finishes.
7. Leave the board to dry for 24 hours.
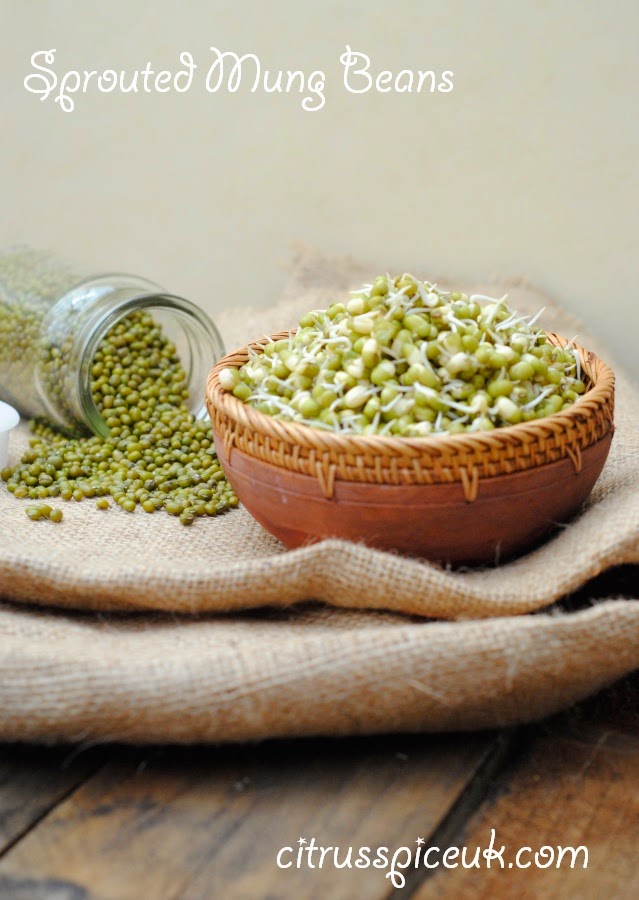
Here is a a picture showing this side of the board used in one of my photos.



Twinsplustwo – Emma-Kate Thompson
What a brilliant idea – and just what I needed!
Jen Walshaw
That looks amazing. Well done. Just goes to show what you can do with wood. I love it
Barefoot Mahala
oh my goodnes, this is genius! I've just raved about it to my husband. I don't think I currently have a need for a prop like this, but I am going to search for a need – I just want to have a go!
citrusspiceuk@gmail.com
Mahala I hope you get the inspiration to make one soon.
Unknown
sounds like lots of work, but if it works for you maybe can work for someone else)
citrusspiceuk@gmail.com
Actually it was too too difficult, hardest part was cutting the wood with my hack saw which was truly blunt.I need to invest in a new blade.
LearnerMother
That's a really effective idea, and it definitely adds something to the pictures you've taken – you should be pleased indeed!
citrusspiceuk@gmail.com
I am really very pleased and proud of the finished boards.
Louise
these look brilliant and definitely add a rustic feel to your photos. well done, great handiwork! x
bluebearwood
Fab post, I was just eyeing up something like this on Pinterest. Have sidelined a load of old pallets to make a load of different wood effects. Genius idea
citrusspiceuk@gmail.com
Lucky you , I can't walk past a builders yard or skip without thinking OMG I could do something with that wood!!!
Hijacked by Twins
What a great idea! I will definitely be showing the hubby this post and get him on the job 🙂 x
citrusspiceuk@gmail.com
I hope your hubby helps:)
Georgia Writes Here
This is such an amazing idea, and the end result looks beautiful. I agree with Louise it gives a very rustic look to your photos.
Georgie xx
citrusspiceuk@gmail.com
Thankyou Georgie I am really pleased with the result.
Sylvia F.
What a fabulous background! Nayna you're the most talented lady, surely you should organize some teaching classes how to make things like that 😉 I'm the first one to attend!
citrusspiceuk@gmail.com
Sylvai you are most welcome to come around you know that.
Mammasaurus
This is so good – I love your photo prop tips to bits!
citrusspiceuk@gmail.com
Thankyou Mammasaurus, watch this space more tips coming soon.:)
Unknown
things like this are fab for photo backgrounds, can be covered up too if you wanted so has multiple uses!
Unknown
That looks so effective, I really must start to make more effort to style my photos, it makes such a difference.
Unknown
great idea, I aint allowd to play with mens toys as hubby calls it , he says us woman shou.dnt play with screws and hammers incase we hurt ourselves, haha x
citrusspiceuk@gmail.com
lol your comment had me in hysterics. You will have to persuade your hubby to make one for you instead.
Lindy
What a fantastic idea, the finished product looks amazing!
Unknown
Wow – what a fantastic idea. You really are so creative and clever – thank you for sharing.
citrusspiceuk@gmail.com
Its all thanks to you tube and google for tips and tricks.
Unknown
What a great idea! Looks really effective!
Louisa
I love the home made stain that you made. It's really effective. The boards look great in your photos, they make such a difference.
citrusspiceuk@gmail.com
Louisa and they were in expensive to make too which is a bonus.
Cass@TheDiaryofaFrugalFamily
How clever is that 0 I never would have thought of that but I'm definitely going to try it now!
Kara
Very effective – makes the subject of the photos stand out
citrusspiceuk@gmail.com
Thanks Kara I love both the finishes they are so good.
loulabeth ♡
Such a good idea!! Your food photos look really good! (:
L x
citrusspiceuk@gmail.com
Thankyou Loulabeth.
Shell Louise
Looks great and really adds to the photos 🙂
wow such a brilliant idea will definitely try it
citrusspiceuk@gmail.com
I hope you do they are really good for props.
Hillary Reist
Simple, elegant, and beautiful! Thanks for posting 🙂
bookworm
This sounds like fun. I've never used props in my photography but I love the idea of homemade props. I did some refinishing of furniture when I was young but never could get into it. Maybe now,when I am older. Alana
citrusspiceuk@gmail.com
I love my props infact I have a guilty obsession for them.
Unknown
Thats a fantastic idea and really does make the photos look great 🙂
Tigerlilly Quinn
wow that's such a fantastic idea! I must try this! x
citrusspiceuk@gmail.com
Fritha I hope you do .I love my boards.
Janice
Some great DIY there Nayna.
citrusspiceuk@gmail.com
Thanks Janice.
These are so cool! So much cheaper than buying wooden planks as well. Very Pinterest worthy 🙂
India x Touchscreens & Beautyqueens
citrusspiceuk@gmail.com
Thanks Baby teeth.
srobbo71
Simple yet so effective, I love to get stuck into craft projects 🙂
Heidi Roberts
A great idea, perhaps make another one and paint it white and you will have no end of back drops
citrusspiceuk@gmail.com
Great Idea Heidi, but for that I will have to go and visit the garden centre again to get the wood.
Erika
That is such a lovely idea and makes a brilliant rustic back drop to images!
citrusspiceuk@gmail.com
They really do look great I am so pleased with them.
Stephanie Merry
What a great idea, I should try this for my pictures x
citrusspiceuk@gmail.com
I hope you do Stephanie.
Bintu @ Recipes From A Pantry
N, Please can I order some boards of you? Seriously. I mean that.
citrusspiceuk@gmail.com
Sure Bintu, email me your requirements.
Shobha
Nice wooden board.. I want to have one too but here in Brazil can't find any old planks any where.. I am still in search .. maybe one day I'll find them some where.
Triveni
Love the natural wooden effect the best. There is a rustic charm in old wood that makes everything pop up and look beautiful.
Sonal@simplyvegetarian777
Tracy Nixon
Great idea!!! Looks so vintage!
Heather Haigh
What a good idea for adding a lovely rustic look.
love the look and the fact that we can "recycle" what otherwise would be waste!
Copyright©2022 Nayna Kanabar/Citrusspice and Travels Powered by WordPress | Theme by TheBootstrapThemes
Cookie Consent