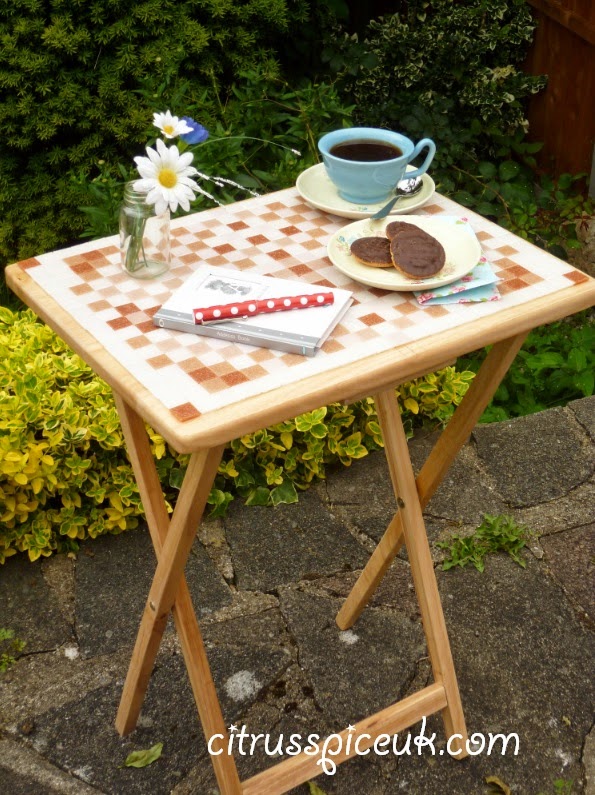
I really enjoy arts and crafts when I am not cooking so any chance to get my fingers sticky and to create some form of art is one I never turn down. Recently I had an email from Topps tiles who sent me some pretty little mosaic tiles in shades of peach and also blue together with tile glue and asked me to create something with them. I was thinking I could create mosaic place mats, coasters, mirrors or even tile a little wooden jewellery box I had. All these ideas didn’t really materialise for one reason or another and it was only when I was in my garage that I saw a forlorn folding coffee table that looked really plain and boring; an idea struck my head. Why not create a mosaic top for it?
Armed with the idea for my wooden mosaic table top, I set about planning my design. You can see below how I transformed a plain wooden tabletop into a beautiful mosaic tiled top.
You will need:
Ruler, pencil, paper
Paint brush for spreading glue
Wooden table
A rag to wipe off any access glue
Mosaic tiles
Tile glue
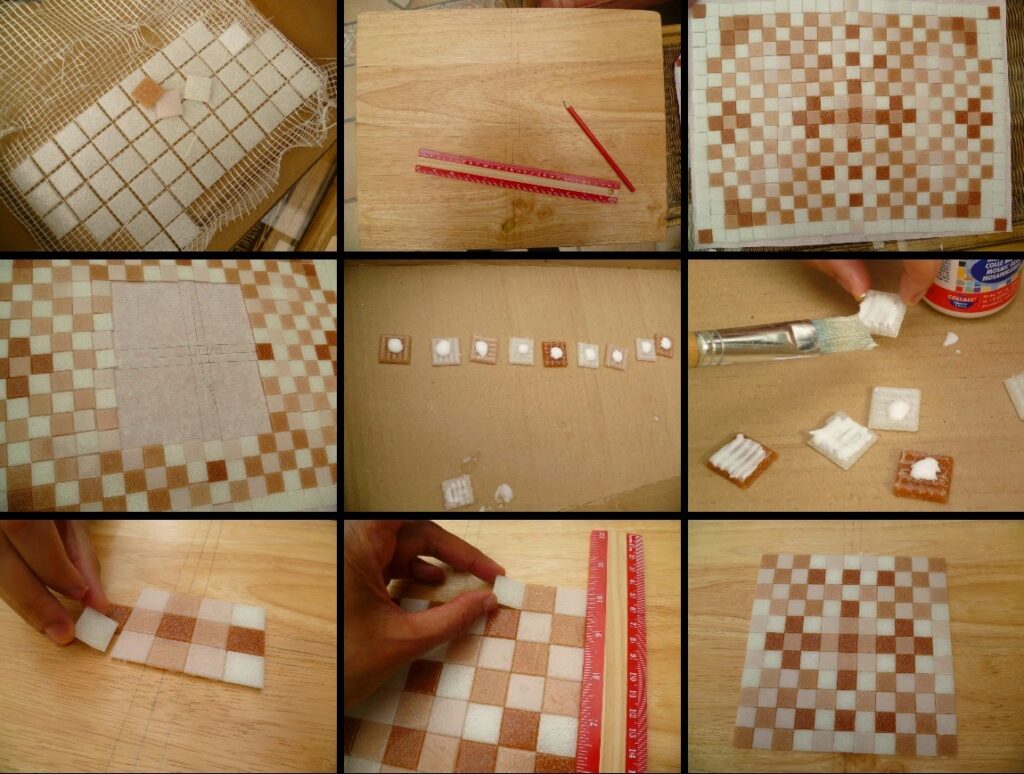
Method:
1. Measure the size of the tabletop and cut a piece of paper the same size.
2. On the paper mark the centre point of it by drawing a horizontal line across the width and a vertical line across the length.
3. Peel off the tiles from the backing and separate them into piles of different colours.
4. On the paper, starting from the centre point, start to lay the mosaic tiles creating your chosen design. You may find the tiles will not reach to the end of the paper, this is fine as long as there is a symmetrical gap all around the paper edge.
5. Once you are happy with the design on your paper, you are now ready to transfer the mosaic tiles to your table top.
6. Using a ruler and pencil, mark the table centre as you did on the paper.
7. Starting from the centre tile, begin to glue the tiles in place a row at a time so that you do not mess up the pattern created on the paper.
8. Keep checking with the ruler that the tiles are level and not being glued at a slant.
9. Work on the table row by row transferring the tiles in the exact pattern from the paper to the table top.
10. Wipe off any excess glue using the rag slightly dampened in water. The glue will set clear when it’s dry.
11. Once the tabletop is completely covered with the mosaic tiles, wipe off any excess glue and leave to set over night.
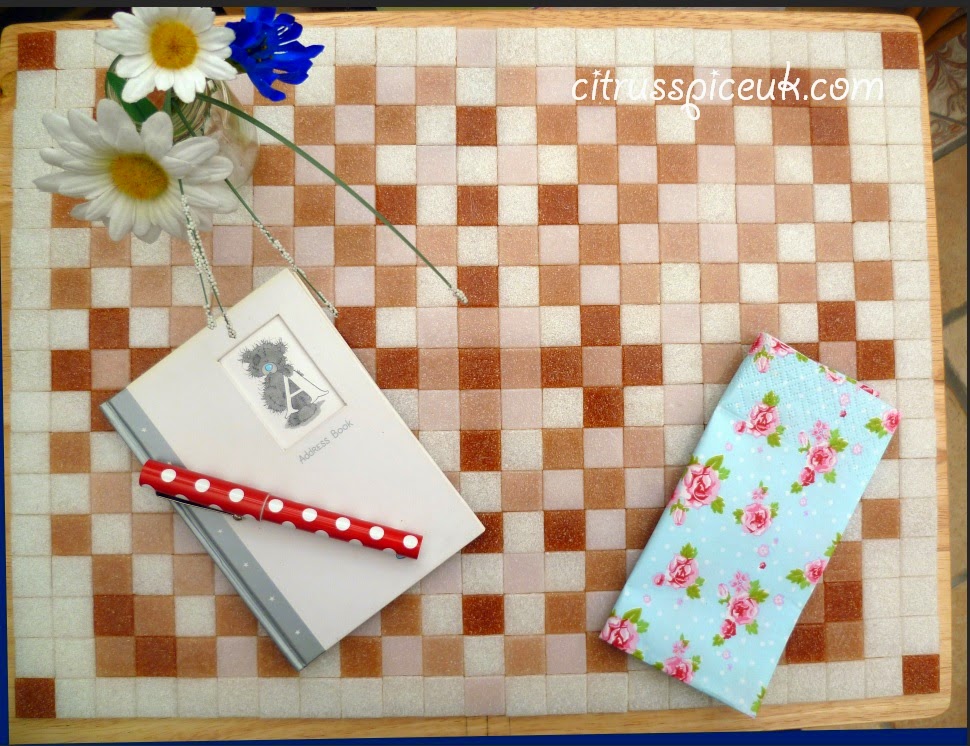
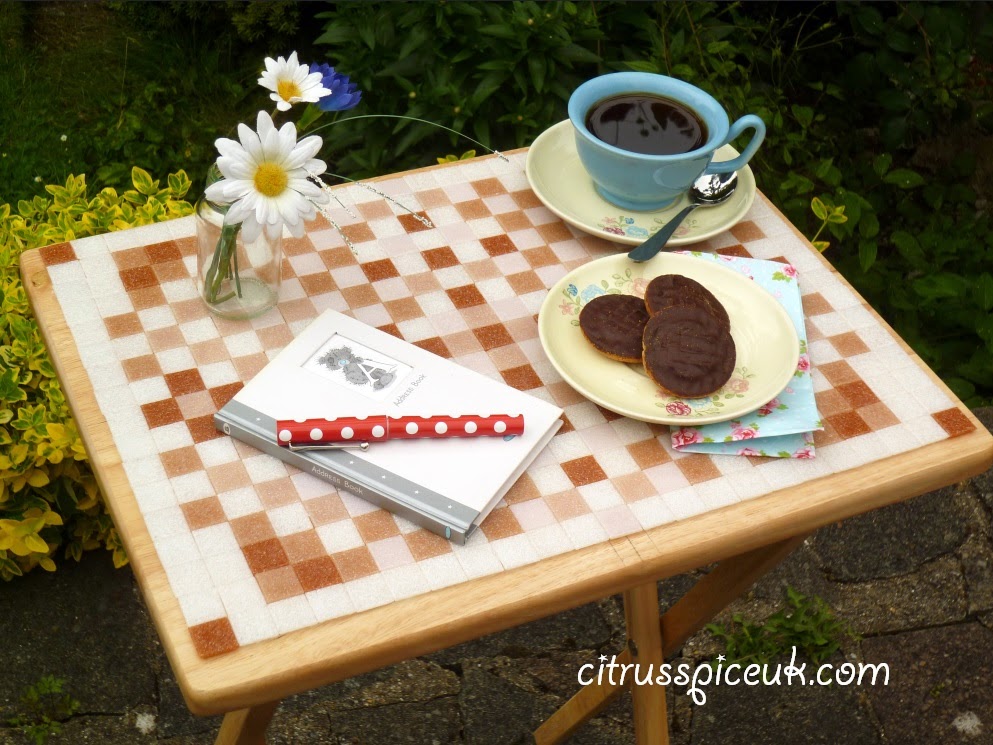
I would like to thank Topps Tiles for sending me an assortment of tiles to create my mosaic table. For lots of amazing mosaic tile art creations, you can check out the pinterest board here. I am looking forward to my next creation using the blue shades of tiles.


Sarika@sarikasethgunjal.com
Wow Nayna…this is so cool…..Like your creation…
Priya Suresh
Wow, am impressed, wat a beautiful craft work.. Mosaic tiles table looks great, wonderful way to give a second life to the old tables.
Shobha
The mosaic table is looking very nice.
Unknown
Wow! This is amazing! Well done you. Amazing how you can transform older furniture.
Laura x x x
Unknown
This looks like something I could make in the summer sun! x
Lizzie Roles
This is a really creative way to transform something ordinary & upcycle it! Very clever. Lizzie XO
Twinsplustwo – Emma-Kate Thompson
That looks amazing – I would love to try this. Thanks for the inspiration!
Barefoot Mahala
very impressive and you make it look so easy! I love the colours too.
Jenny
The colours are so pretty and summery, great project!
Carsonsmummy
Excellent! What a transformation. I love this well done 🙂
Jacqueline Meldrum
Nice work Nayna. It looks super!
Hannah Wood
Wow so impressed with that,could not do that .x
Tantrums To Smiles (Jess)
Looks lovely! What a very creative and beautiful way to create a unique piece of furniture! Lovely!
Jess
http://owlcrazymummy.blogspot.co.uk
Unknown
That is stunning! I wish I was more crafty, but I do love looking at photos and watching videos to admire! Thank you
Jen Walshaw
That looks AMAZING. it is so effective and much more hard wearing and unique, very clever indeed
You Baby Me Mummy
That looks great and really handy too. You are very creative x
Unknown
What a great idea you made it look so easy
hazel
That actually does seem quite easy to fabricate. Looking around the house if I have anything wandering around that could use some pimping 🙂
Bintu @ Recipes From A Pantry
Goodness Nayna – you are soooooooo talented. Please come round to my house. Lots of craft to do…..
Shell Louise
That looks lovely. I like the idea of making table mats with them.
Cass@TheDiaryofaFrugalFamily
That looks fab – especially out in the garden with Jaffa cakes on x x
Unknown
Putting arts for mosaic tiles, that’s impressive and very creative.
I have also get some ides from here http://mosaictiledirect.net/
Mina Joshi
Nayna- This is fantastic work!! Very creative.
Heather Haigh
That looks really good, what a great idea.
Helen @ Witty Hoots
I love this – we have a sad little folding table that could do with a spruce up like this – thanks for the inspiration!
Kurinji
great work…..happy to follow u…
http://kurinjikathambam.blogspot.in/
GG
Great way to spruce up a tatty bit of furniture and not too difficult. GG
Unknown
This is a great idea to liven up old furniture. Thanks for the inspiration!
Unknown
A great idea to personalise furniture!
thats lovely, such a great idea!
Arabella
I love this! I think I might try it by also using an old picture frame to put around the edges which might help stop things sliding off.
Anne Dalzell
I love making patchwork quilts and this really reminds me of one of these. It's so satisfying when you finish a project like this
Andrew
Sand all the surfaces in order that everything is extremely swish. Use a power tool to complete that task.In case you are doing not would like to create your own table, merely obtain a decent one that you just can assemble yourself.
James Evan
This post shared a very useful instruction. I can't believe with such simple tools, I could make the difference for a table!
Mosaic Tiles
Lovely idea Nanya! found this article while searching such post and this really inspires me! Thanks for sharing!
Copyright©2022 Nayna Kanabar/Citrusspice and Travels Powered by WordPress | Theme by TheBootstrapThemes
Cookie Consent